Did you know that 62% of U.S. households participate in at least one crafting hobby?
Many households reported that they engaged in more than one craft hobby. The top creative hobbies across all age groups are edible arts (17%), painting and drawing (16%), kids crafts (16%), sewing and fabric (11%), and papercrafts (11%).
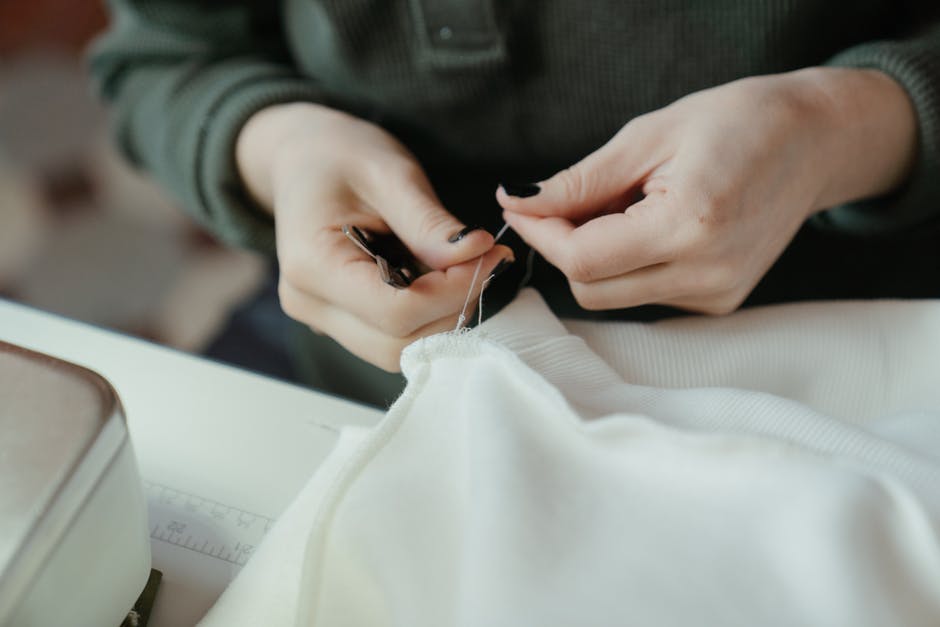
If you’re looking for a new crafting hobby this guide on how to sew by hand is for you. Read on to learn our simple step by step guide on how to sew.
7 Steps for Those Who Want to Learn How to Sew
Many people associate sewing with the older generation. And while it is a great hobby to help fight dementia because the creativity helps with brain growth, it’s also a great hobby for the younger generation too. Sewing might be the right hobby for you if you want to boost your happiness and relieve stress and anxiety.
Step 1: What Do I Need for Sewing Projects?
For basic sewing projects, such as mending fabric or clothing, you’ll need a needle and some thread. Ideally, the thread needs to be the same color as the material you are sewing.
If you get a sewing kit, then it should come with needles and some different colored threads. For projects beyond basic sewing, you might need more specialized needles and threads. For example, for a knit fabric you need a ballpoint needle, or for delicate fabrics such as silk, you’ll need a special thread.
You’ll also need a pair of sewing scissors to cut the thread and trim off any loose thread. Sewing scissors are slightly different from regular scissors and can help prevent fraying of fabric or thread.
Alternatively, you can pick up sewing craft kits, such as these sewing projects for kids, where you can make your own clothes.
Step 2: How to Thread the Needle
When it comes to the thread type, there are two options, the single thread, and the double thread.
To single thread a needle, you need to pull the thread through the needle’s eye so the needle is a few inches from the end. Cut the length of thread you need and then tie a knot on the side with the long thread. If you use the single thread technique, you need to ensure you hold the shorter bit of thread, otherwise, it’ll keep slipping through and you’ll need to rethread it.
To double thread a needle, you need to pull the thread through the needle’s eye and double the thread length that you want. Cut the thread and then tie the two ends together.
Step 3: How to Do the Backstitch
The backstitch is a commonly used stitch where you create a line of stitches together. The idea being that it looks like a straight line of thread, there should be no breaks in between.
To do this, you need to thread the needle and then feed it through the fabric (from the inside of the fabric to the outside). And then you keep threading it through, from outside to inside and inside to outside. Use the first stitch length as a guide for where you want to push the needle back through the fabric.
Once you’ve backstitched the length of the fabric you want to stitch, you need to double stitch to finish the job. Use the last point of entry and pull your needle through an extra time.
Step 4: How to Do the Ladder Stitch
The ladder stitch, also known as the slip stitch, is great for creating an almost invisible seam (making it great for hems). To master the ladder stitch, you need to thread the needle and push it through the underside of the fabric and up into the fold. Then pinch a small bit of the fabric with the needle on the unfolded section of the fabric and feed the needle through.
Go back to the first entry point on the fabric fold and pick up some fabric along the fold and push the needle through. This is the first slip stitch and this process can be repeated along the seam or hem until it’s finished.
Step 5: How to Do the Running Stitch
The running stitch is a very simple one to master and is ideal for holding fabrics together temporarily. To do this, you need to thread the needle and push it through both sides of the fabric. Pull the two pieces of fabric tightly together with the thread and then push the needle back through the two layers of fabric (about half an inch down).
Continue the above steps until you’ve sewed the fabric together. You can do different lengths of the stitching to suit different projects, longer stitch lengths are known as basting stitches.
Step 6: How to Do the Whipstitch
Compromising of short diagonal stitches in a line, the whipstitch is a great technique for sewing seams so that they’re invisible on the right side of the fabric.
Thread the needle and then pull it through the underside of the fabric and back up through the right side of the fabric. So the knot in the thread is hidden on the inside of the fabric. With the underside of the fabric adjacent, you can then do short stitches into the fabric in diagonal lines.
Follow the above steps until you come to the end of the seam and then loop round to hold the stitches into place.
Step 7: How to Sew a Button
Learning basic stitches is a great way to pick up sewing. However, another practical skill you will need is sewing a button.
To sew a button onto a piece of clothing or fabric, you need to thread the needle using a double thread. Then place a marker where you want the button to go and push the needle through the fabric and then fix the button onto your marker.
Feed the needle through one of the buttonholes and into the other hole. Follow this process several times, six or more is a good amount of thread to ensure strength. Once you’ve threaded the needle through, finish up the process by pushing the needle into the fabric and tying the loose end underneath and around the button.
Follow These 7 Steps to Learn How to Sew by Hand
Use our step by step guide to teach yourself how to sew by hand. Remember these are the basics of sewing, so once you’ve practiced and have perfected these techniques you can try your hand at more advanced sewing projects.
Trying your hand at sewing isn’t for everyone, so if you’re still looking for a fulfilling hobby, check out our other lifestyle articles for more hobby ideas.