Around 25 million aging Americans need help to get through their daily activities. The sad truth, however, is that not all of them get the kind of help they need.
Some of those with mobility issues, for instance, might have trouble getting out of bed or taking a bath—tasks we often take for granted.
That’s why it’s important they have access to help, including tools that allow them to still do such tasks on their own. An example is a walk-in tub which doesn’t require them to bend and sit at floor level.
Don’t know how to install a walk-in tub? Don’t worry, we’ll show you how. Keep reading to discover more.
1. Remove Existing Bathtub
If you’re replacing your current bathtub with a walk-in model, you have to remove it first. It can weigh around 500 lbs, but pulling it is doable with a friend or two.
Before working on your bathroom, though, turn the water supply off. Then, locate the tub’s connections. Disconnect it using a wrench to loosen the slip nut connecting the drainpipe to the overflow pipe.
Take note that you may have to break the tiles surrounding the tub so you can pry it off the wall. After which, you can start prying and lifting it off the wall and ground with your friend.
Do it slowly to assess if it’s still connected to the pipes and to avoid damage to the surrounding areas. It should be heavy yet easy to take out of its place. If it isn’t, there may still be a connection to the water supply.
2. Prepare the Area
Once the area you’re planning to put a walk-in tub is free of obstacles, clean it. Remove the broken tiles, trash, and any debris left.
When you’re done, test if the floor is level. If it isn’t, you have to adjust the leveling feet of the tub later.
Make sure, as well, that all the pipes and electrical lines are in order. They must align with your tub once you install it. If you break a pipe during the removal of the existing bathtub, replace it first.
Measure the door to see if the tub you bought fits through it. You may have to widen the doorway in your bathroom if it’s too small for the tub.
If you’re not removing a bathtub, measure the area first to ensure your new tub also fits in the space you plan to place it into.
Next, you have to prepare everything you’ll need for the project. Make sure the faucets are all there, have your leveler in hand, and so on.
3. Take the Walk-In Tub Out of the Box
When you’ve made sure that everything is ready, take the tub out of its box and bring it to the bathroom. It shouldn’t have any issues fitting into the space where the previous bathtub was.
Before you place it, though, install the tub waste/overflow first. Refer to the manual of your model for the specific requirements. If there’s a check valve, it should be horizontal to the floor as well as the tubing.
Next in line is the fixtures. Depending on your tub’s model, there should be quite a few of them aside from the faucet itself. Check the manual to see how many there are and where to install them.
After everything is in place, you can then place the tub. Lifting it into place should be pretty easy with the help of your friends.
4. Make Sure It’s Level
Take your leveler and check if the tub is level at all sides. It should have several leveling feet to help you adjust it if the floor itself isn’t level. Ensure that all of the feet are touching the ground.
This is critical; if the tub isn’t level, the door mechanism might not work the way it’s supposed to. The water may also not drain the right way, which can then cause the door to leak water.
After making sure it’s level, you can then align the plumbing and electrical lines.
5. Do the Finishing Touches
Walk-in tubs are smaller than bathtubs, so the space created by removing the original bathtub from the stall is larger, too. Installing a walk-in tub in its place can then look awkward without doing finishing touches.
You can build some end panels that much your new tub to fill in the gap between it and the wall. If this is a step you can’t tackle on your own, feel free to hire a contractor to do it for you.
You must do it right because if there’s a gap left, water may go through it and pool at the bottom. It should be sturdy, too.
Then, clean the whole area with warm water and a non-abrasive cleaner.
6. Test the New Tub
Don’t use it right away! Test it first to make sure everything is fine and nothing is leaking.
If you were able to fill it and then empty it without issues, then you may have installed it correctly. Only then you can say that you’ve completed the tub installation; after which, you or your loved one may use it.
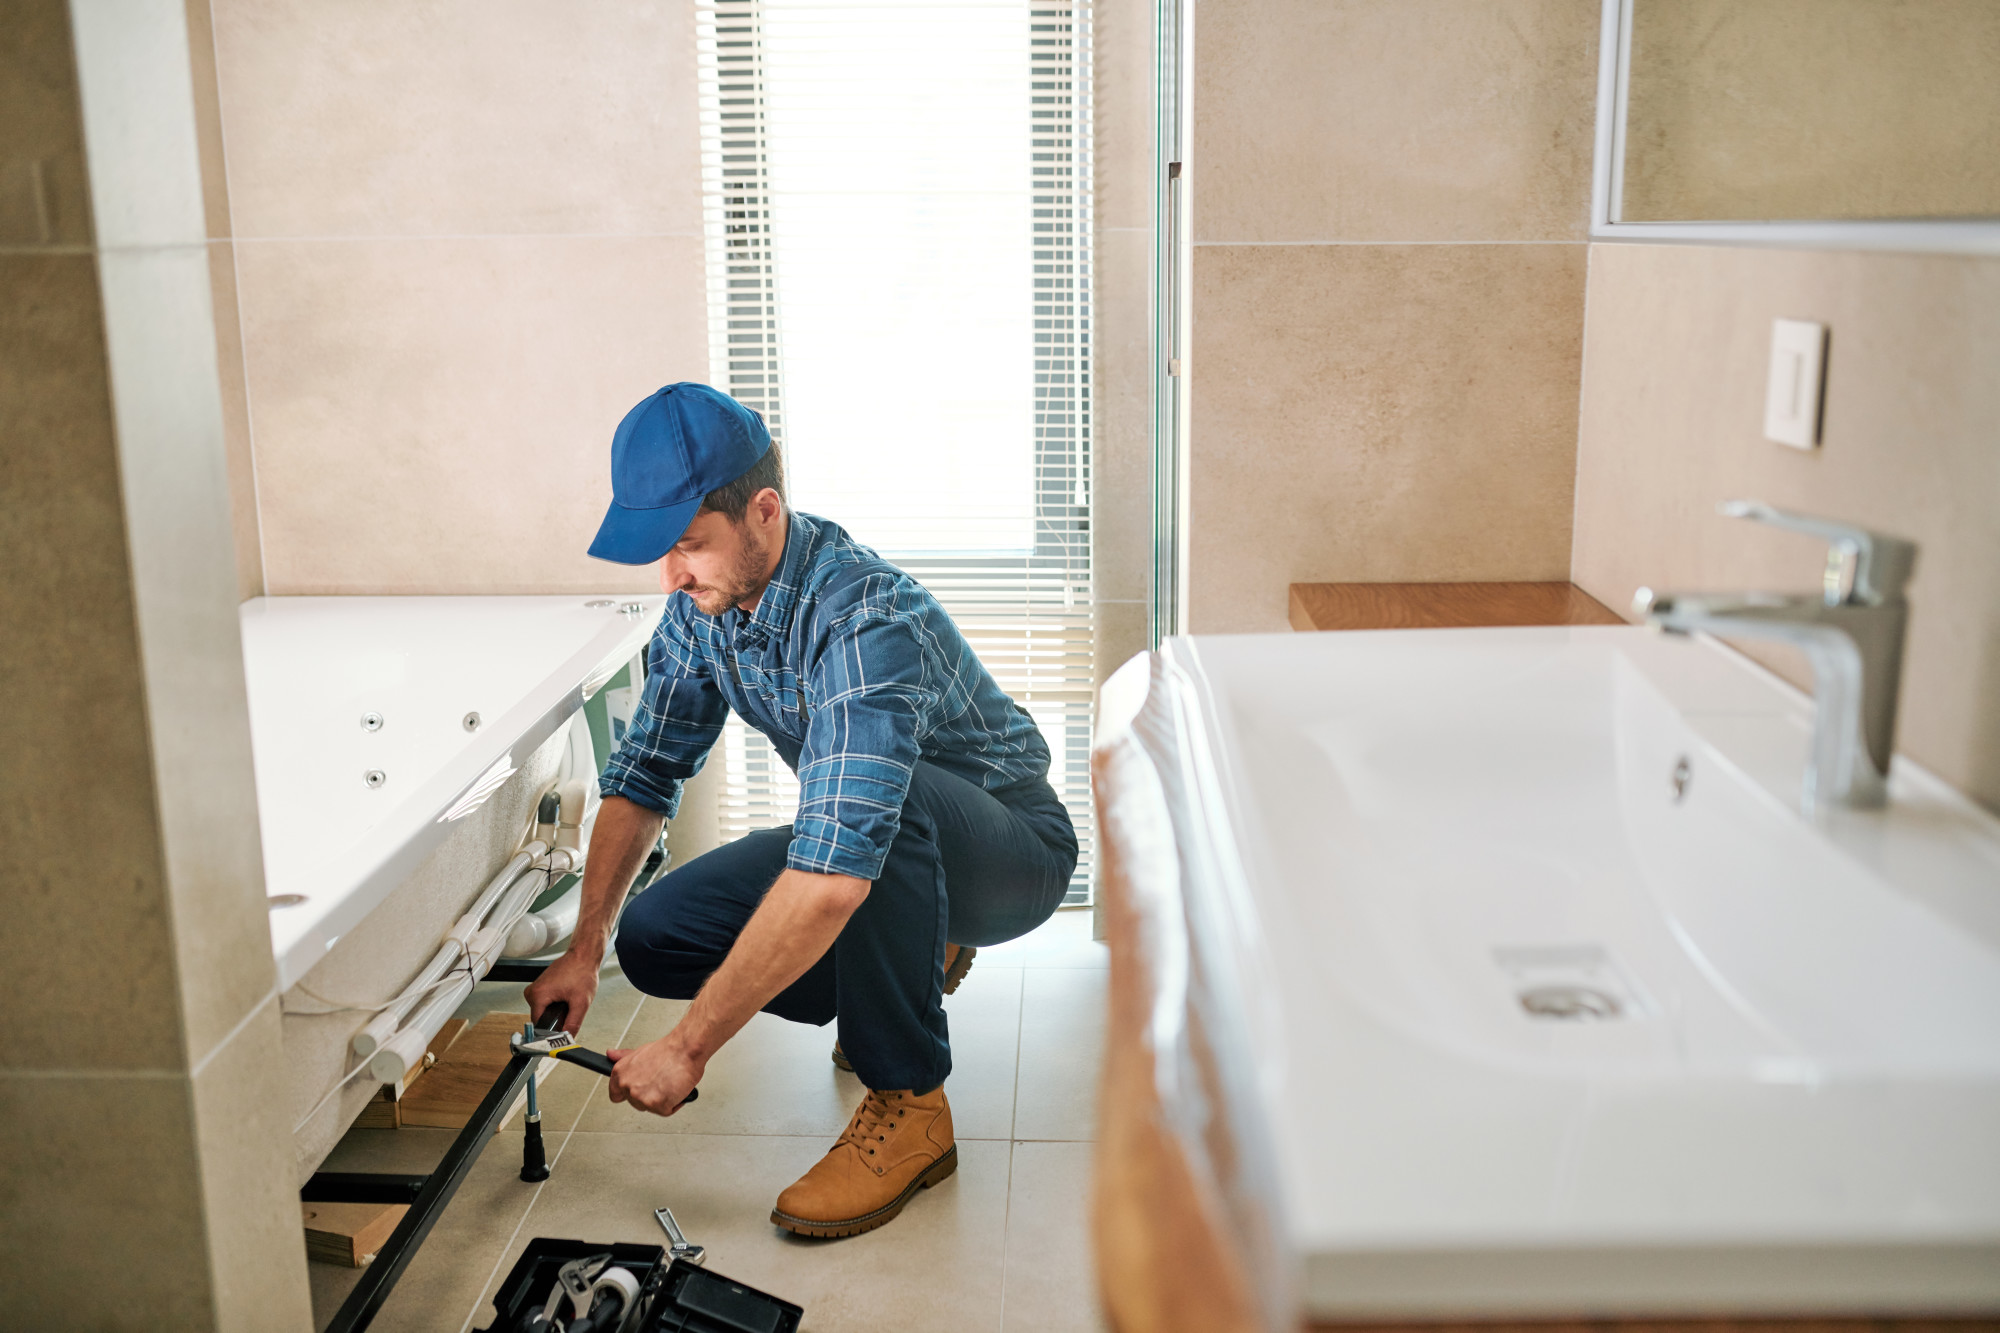
7. When in Doubt, Hire a Professional
There’s something that can go wrong with every step of the walk-in tub installation, so if you’re a beginner or if you have some doubts over any step in this article at all, call a professional instead. Learning how to install a walk-in tub without relevant knowledge can spell a catastrophe.
The right contractors can assess your bathroom and install your walk-in tub properly. They’ve already done each step many times, so the risk of making a mistake is lower than if you choose to do it yourself. If there’s any unforeseen issue, they can solve it right away before finishing the installation.
The result is a safe and fitted walk-in tub. Because walk-in tubs are for people with mobility issues, it’s best if it’s installed correctly to avoid problems for the users down the line. If it breaks, for instance, the user might have trouble getting out or getting help.
Learn How to Install a Walk-In Tub the Right Way
If you’re committed to learning how to install a walk-in tub, though, read more resources on the subject to gain enough knowledge to avoid failure. Check out our other articles that might help you out.