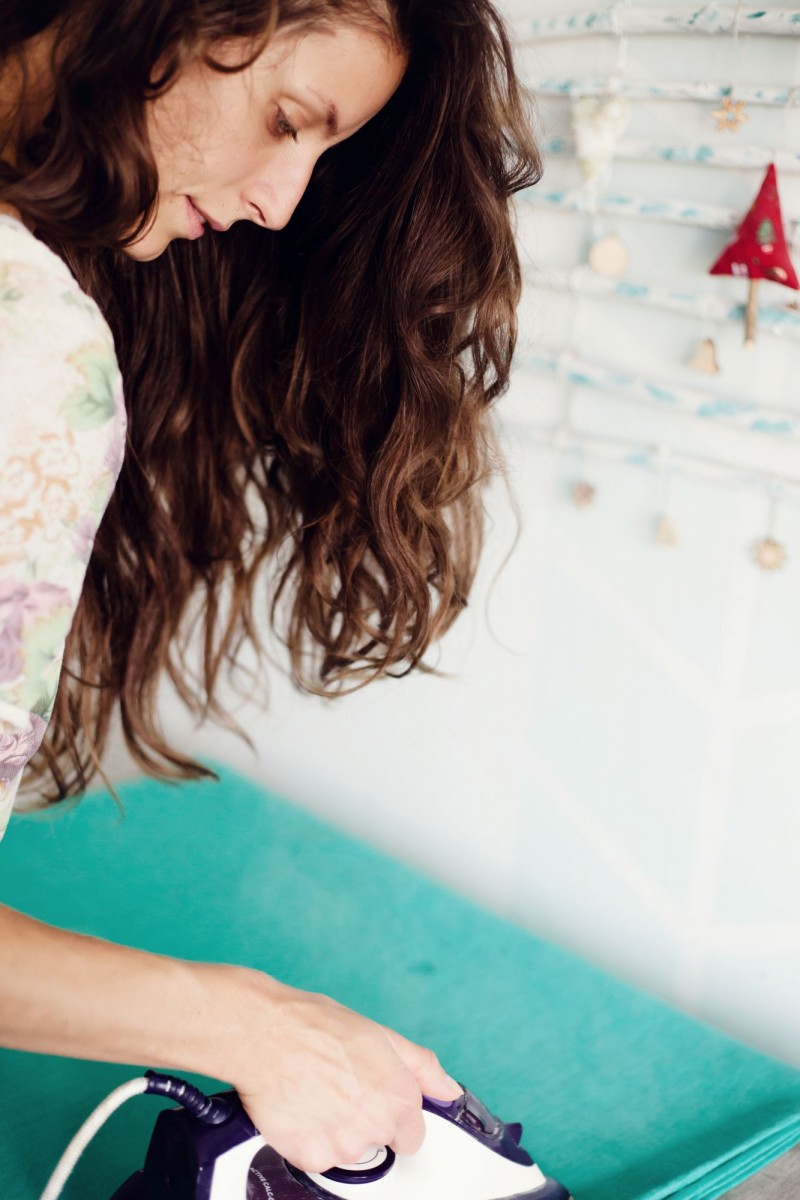
Most of us think we can iron but are we ironing correctly?
The Office of National Statistics found that the average household in the UK washed 260 loads of laundry each year. But only 10% of that was ironed.
Ironing clothes is a dying art form. In yesteryear, people would set a day aside for ironing! Now, many people just plug it in when needed and hope for the best.
There are so many things that can go wrong with ironing. It’s easy to use the wrong temperature or adopt a bad technique if you’ve never been taught the proper way to do it.
Have no fear! We’ve compiled a list of top 10 ironing tips that will help you get this chore done like a pro.
Tip #1: Work From Cool to Hot
This is one of those ironing tips that save you time. Start by ironing the items that require a lower temperature. Silks and other delicate fabrics often say to use a cool iron on the label.
Separate your items into different types: delicate, medium and durable. Start by ironing delicate items first. Then, turn up the heat to medium and durable items.
Starting with a cool iron ensures that you don’t accidentally ruin an article of clothing by not letting the iron cool down enough. Plus, it just makes logical sense.
Check out the 2018 spring fashion trends to make sure your wardrobe is up to date.
Tip #2: Double The Heat
Line your ironing board with aluminum foil. The heat from the iron will smooth out the other side of the garment while you iron the top.
This means you won’t have to iron both sides, try it!
Tip #3: Hang Up Your Ironing Right Away
While your clothes are still hot from the iron they are susceptible to wrinkles. Don’t let your hard work go to waste!
As soon as you finish ironing a piece of clothing, hang it up in your closet.
Grab a bunch of clothes hangers from your closet before you start ironing. As soon as you finish with an item, pop it on the hanger and place it in the closet.
If you iron items that will not be hung up, fold them neatly straight away.
Tip #4: Use a Clean Iron
There’s nothing worse than ironing an expensive dress and finding the iron leaving marks all over it. What a nightmare!
Irons need to be cleaned regularly. You can learn how to clean your iron with some baking soda and q-tips.
Clean your iron regularly to prevent deposits being left on your garments.
Tip #5: Use the Proper Technique
Yes, there really is a correct way to do the ironing. The proper way to iron is in long, back and forth strokes.
Don’t move the iron side to side. Also, avoid circular movements. This can cause the fabric to stretch and can also add new wrinkles.
Tip #6: Use the Entire Board
The long shape of the ironing board is there for a reason. Place long items like pants lengthwise on the board.
Avoid having most of your garment hanging off the edges. This can cause pulling on the seams and result in damage to your clothing. Plus, it could add in new wrinkles after you’ve worked so hard to get them out.
The thin top section of your iron is useful for sleeves and arm creases. Simply slip your shirt through the tip and gently iron. Rotate the sleeve as needed to get all the armpit creases out.
Tip #7: Iron Inside Out
There’s nothing like a crisp, elegant black dress. But be careful, ironing certain fabrics, especially dark colors, can add a sheen to the fabric from the heat of the iron.
Avoid this by ironing your clothes inside out when possible. This will make sure you don’t get sheen spots on your favorite items. Plus, this method will make your clothes last longer. It’s one of your best ironing tips.
Tip #8: Remove Scorch Marks with White Vinegar
Oops! If you had the iron too hot or left it pressed to a garment a little too long, you may end up with a scorch mark.
Don’t worry. Our ironing tips include how to fix these common errors.
To quickly repair a scorched article of clothes, use common white vinegar. Simply dip a cloth into the vinegar and press it onto the mark and wipe away.
Repeat this step several times if needed. Just ensure you use a fresh part of the cloth with each wipe so you don’t spread the scorch mark.
When you’re satisfied with the result, wipe the spot with cold water. Voila! Scorch mark is gone.
If you have a rip in jeans or want to cover a mark you can’t remove, view here for a selection of iron-on patches.
Tip # 9: Work from the Outside In
When you are ironing long-sleeve dress shirts, it can be tricky figuring out where to start. Remember these handy ironing tips: work from the outside in.
Iron all cuffs, collars and hems first. Then iron the sleeves. Leave the torso for last.
Working in a specific order helps you remember what parts you’ve already done.
Tip #10: Ironing Tips for Perfect Pleats
We admit that pleated skirts or dresses are the trickiest types of ironing to do. When pleats are done wrong, it’s very obvious.
But that doesn’t mean you can’t do it and do it well!
To make sure your pleats are in place use bobby pins or paper clips. Lay out your garment and secure each pleat with a bobby pin or paper clip.
Then, iron using the proper technique we’ve taught you! You won’t have to worry about mis-pleats because the clip secures each pleat in place.
Final Words on Ironing Tips
Ironing doesn’t have to be a chore you loathe. With the proper technique and these time-saving ironing tips, you’ll be able to have crisp clothes in minutes.
An added tip is to make sure you do your ironing in a brightly lit room. That way you can see what needs another pass.
Also, adjust the board to be the right height for you. No need to get a backache by bending over. You should be able to stand at ease to complete this chore.
We hope you’ve enjoyed these ironing tips! Next, read 9 clothing items that are always trending.