Making your own jewelry is not just fun, but is a great way to de-stress and unwind. The satisfaction in wearing something you have created is second to none. Anyone who is always on the hunt for unique, bespoke fashions can also make one-off pieces in this way, to really add flair to an outfit.
Making bead jewelry it not just as easy as threading them onto a string. To take you through the process step by step, we go through how to make bead jewelry in our handy guide below.
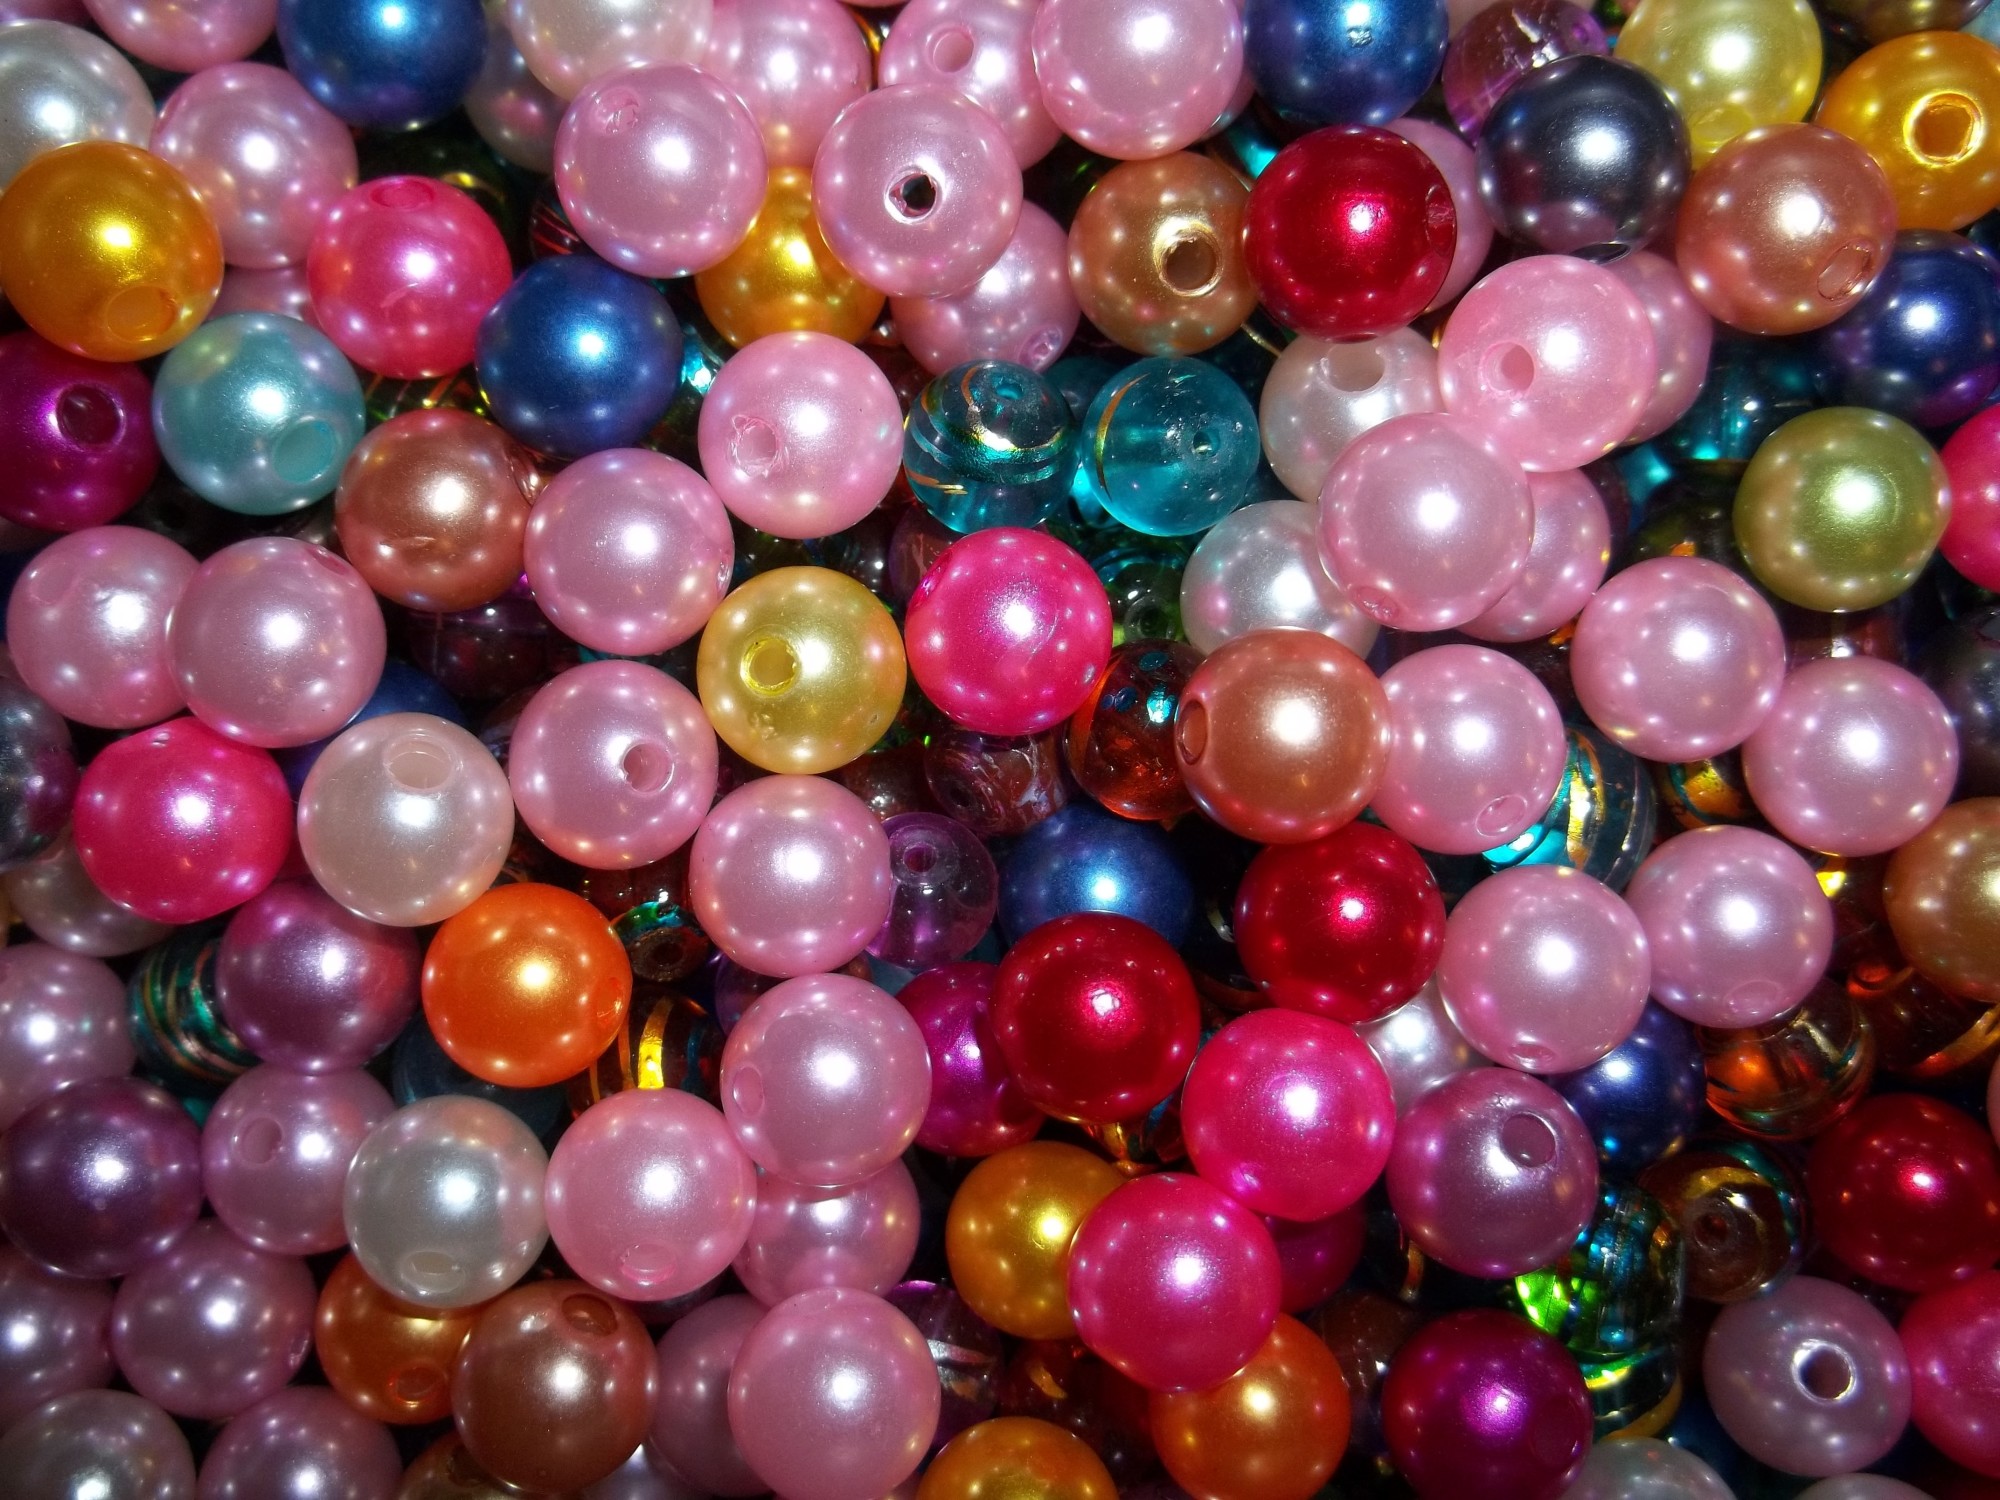
Source The Materials
While you will need some specialist tools to make your job easier, luckily they are cheap and easy to come by. We would recommend getting three different types of pliers; round nose, flat nose, and some standard small wire cutters. On top of this source a crimping tool.
A tape measure, super glue, standard beads, crimp beads, and beading thread will also be needed. Lay all of the materials out in front of you in a well lit, spacious area.
You may be tempted to buy some low-cost tools and equipment to get you started. However, buying better quality tools will result in a more professional finish, make the job easier and they will last longer.
Selecting Your Beads
There is a huge variety of beads available to jewelry makers, and it may help to think about what outfit you plan to wear your jewelry with. If it is formal evening wear you may wish to go for sparkling stones, crystals, and diamonds. If you are planning on visiting a festival, you may want types of beads made from natural materials like wood and leather.
You may also want to use your birthstone. These are specific gems assigned to the month of your birth. It can add some real individuality to a piece of DIY jewelry and show a lot of character in an outfit.
Many beads can be found in kits with all the materials you will need. However, the selection of beads can often be limited and you may find yourself running out of your favorite colors. Support a local retailer by visiting a craft store and selecting your beads by hand.
Types of Necklace
There are four main types of jewelry that you can make with this technique.
Anklets and bracelets are slightly smaller, to be worn around the wrists and ankles. Necklaces and chokers are worn around the neck, with the choker being a slightly tighter fit that hugs the necklace.
Make a Plan
Next, think about the style of necklace you wish to create. Think about any particular colors or embellishments you may want and select the correct beads.
Decide how long it will be using your tape measure. Tighter chokers style necklaces will need to be flush with your skin, while necklaces that drape can be around 16 inches. Remember that the final length will include any hanging pendants and the beads.
Try to measure it out using a mirror. Experiment with different lengths to see what size you would prefer.
Lay Out Your Beads
For the next part of the task, it may help to lay down a textured cloth of tissue paper on your work surface. This will stop any beads rolling off the counter onto the floor.
Once you have done this, set out your beads in the order you will arrange them on your necklace. Work from the middle outwards, placing any focal points or large gemstones in the middle. Experiment with moving them around until you have a design you are happy with.
If you have a beadboard, now will be a great time to lay it down. A beadboard can help you measure the length of the necklace and keep your beads in order. It will also stop them from rolling onto the floor.
Cut The Thread
Measure out the required length of thread. Before you cut it, add another six inches to the total. This will help you with any excess space required by larger beads and allow you to affix the clasp.
Making Your Necklace
Start by sliding one bead onto the string. Follow this with a crimping bead, then add another normal bead around one inch down. Place one end of the clasp on the thread just after the crimping bead.
You should now be able to form a loop by placing the thread through the clasp section. Add another bead, followed by a crimp bead, then another normal bead. Add glue to the crimp bead to hold it in place, then crimp using the crimping tool.
Now you have secured each end, you can begin to thread your design onto the necklace. Do this one bead at a time and keep going until you only have around four inches of string at the end.
Closing the Necklace
Finishing the necklace is very similar to how you began it at the start. Add a clasp followed by a bead, crimp bead then a normal bead. Any leftover thread can be pushed inside the final bead hole.
Make sure the necklace is not too tight. This can make it break easier, as more tension is on the thread. They should move easily around the necklace.
How To Make Bead Jewelry Final Touches
Finally, use the crimping tool on the last crimp bead. You can now affix your necklace and wear it to show friends and family.
Wearing It Out
The types of beads you have chosen should now add real glamour to an outfit. If your experiment in how to make bead jewelry worked, then begin to experiment with larger and more complex pieces.
If you are still looking for a way to make your fashion even more individual, browse our other articles. We can help with everything from lifestyle, to health and fashion. Join us as we teach women how to be happy, beautiful, and stylish!